How to Place the Die-Cutting and Embossing Plates on the CocoMummy
The correct placement of the plates for die-cutting and embossing can often be tricky. To save you from endless trial and error, here's the correct order for the CocoMummy:
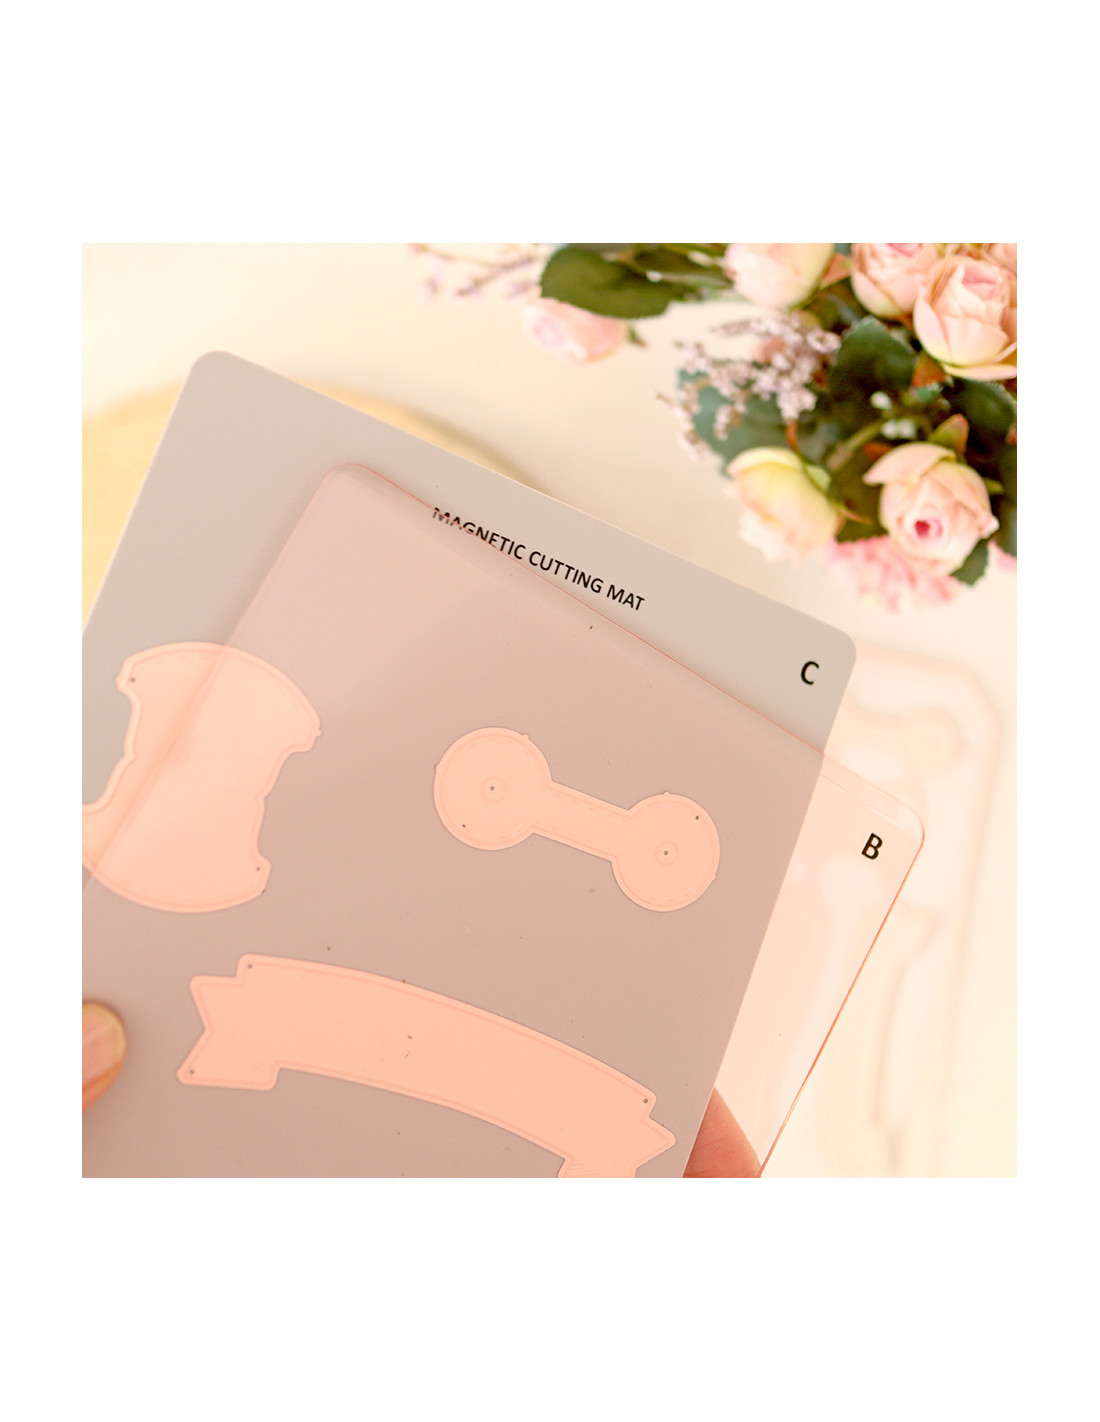
FOR CUTTING:
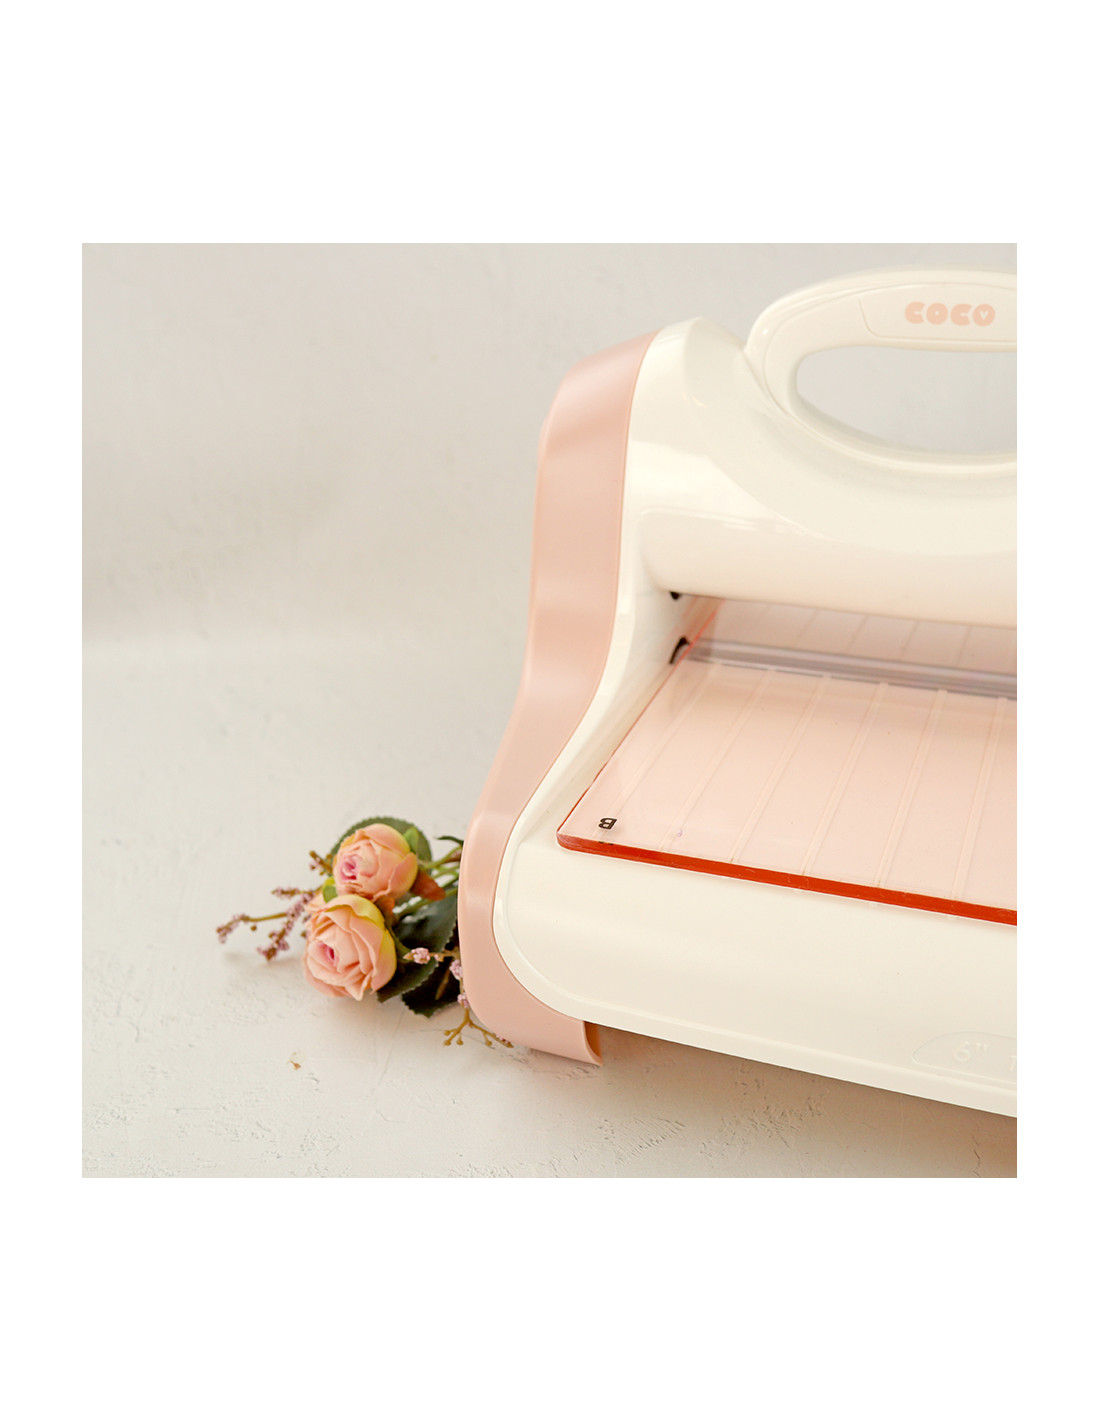
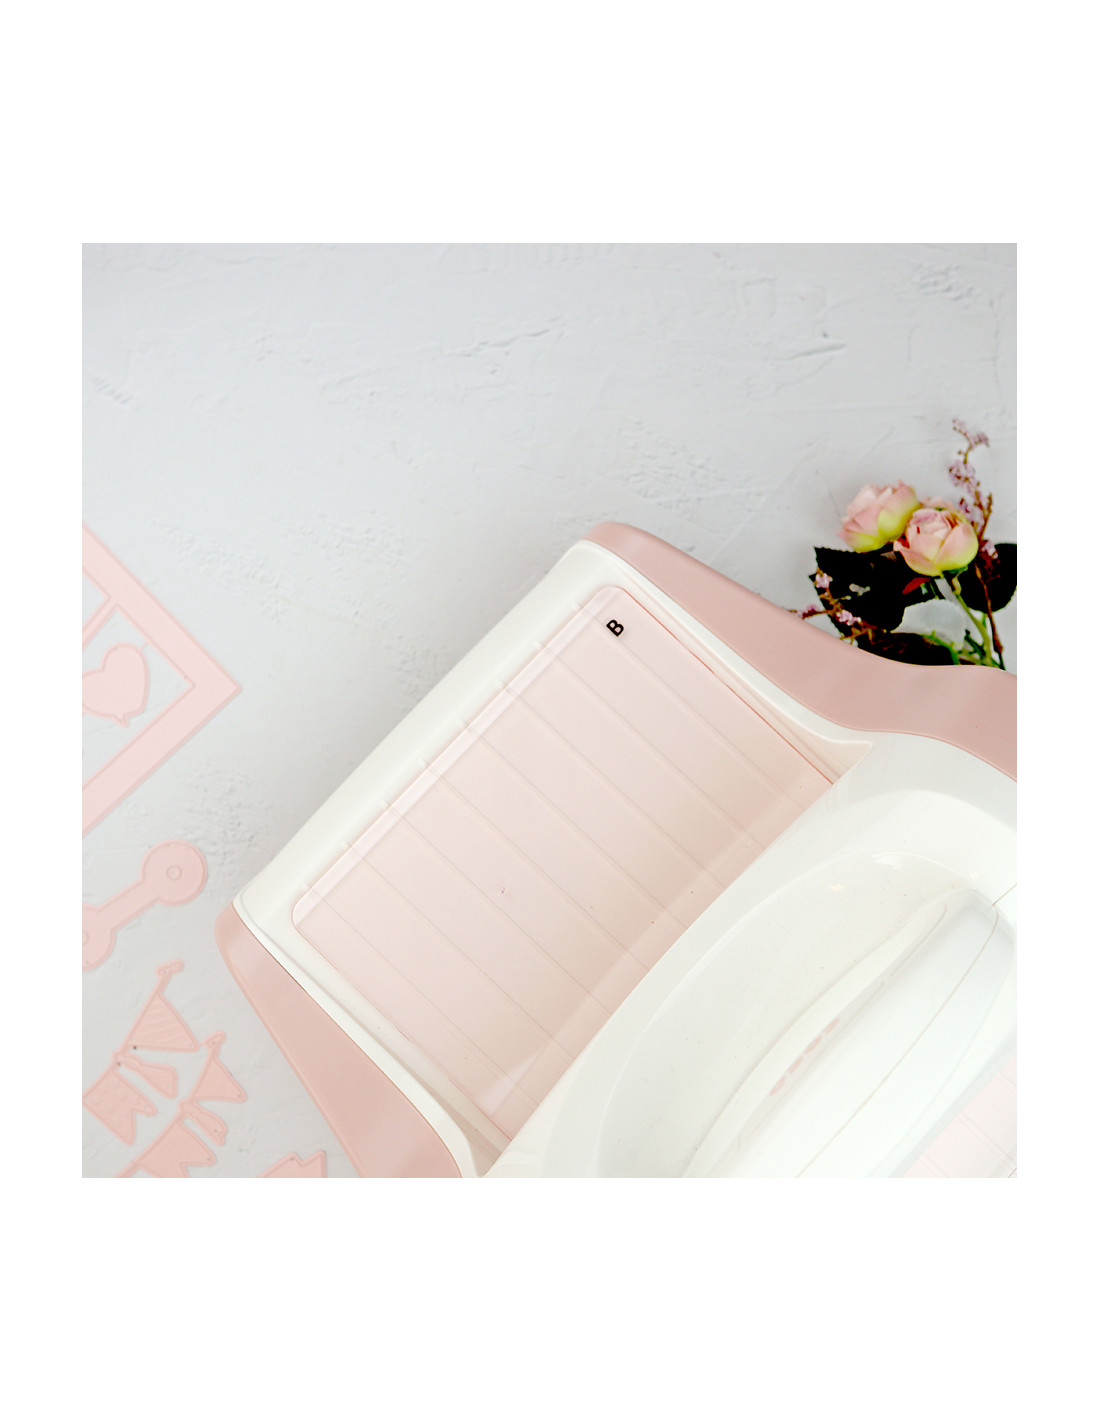
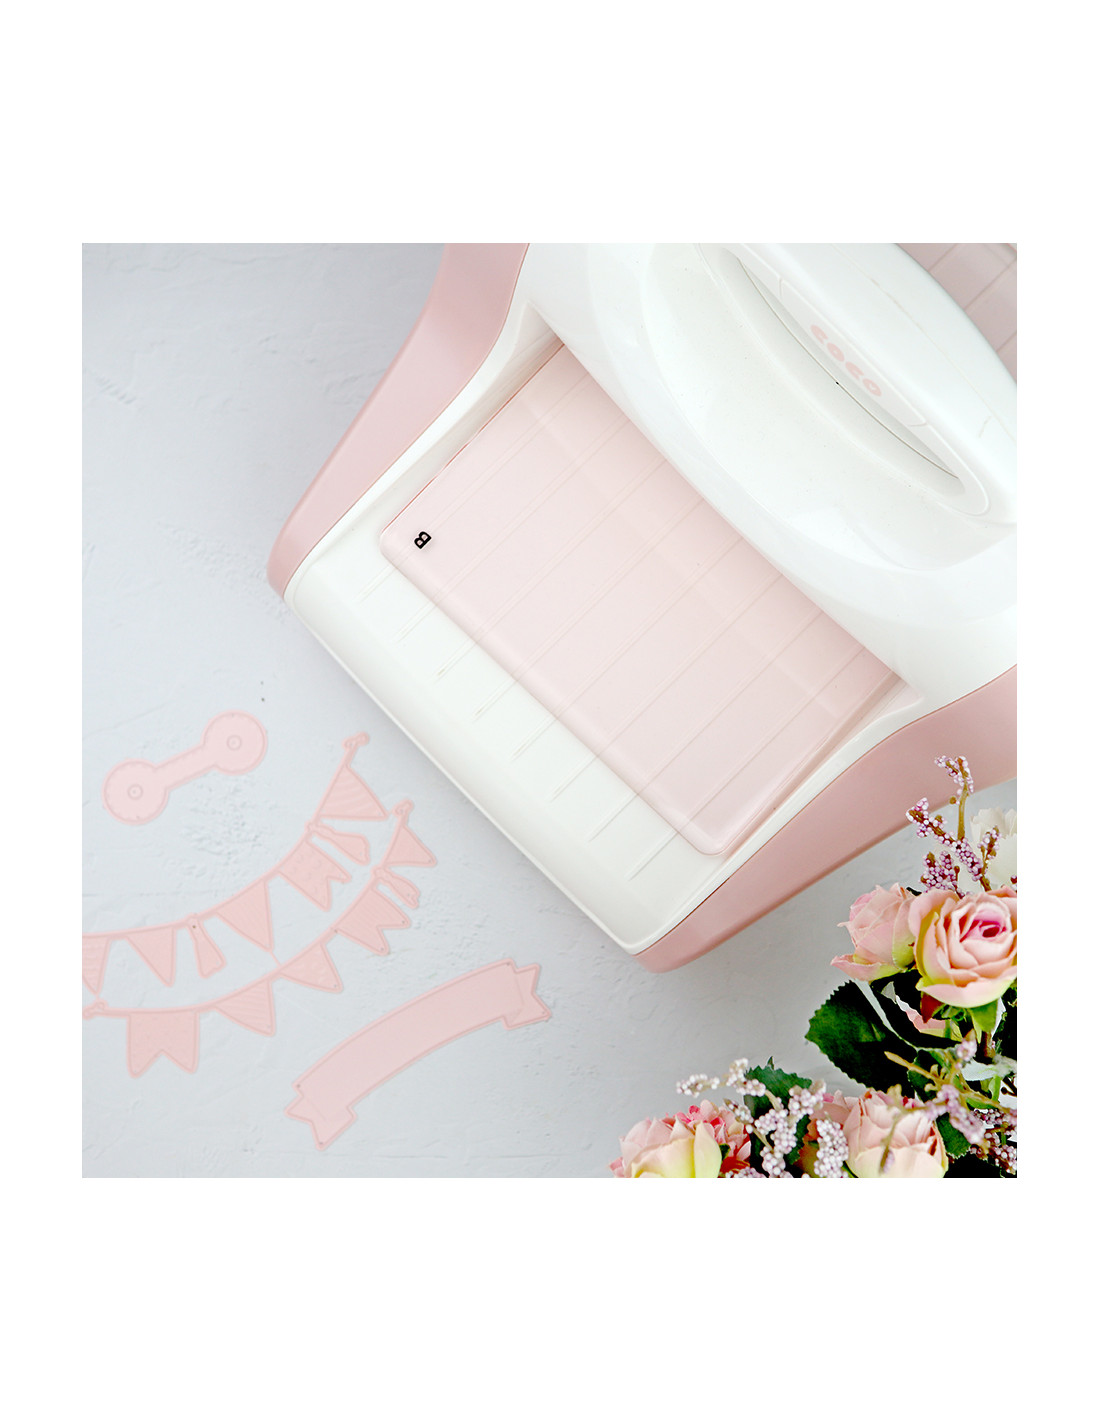
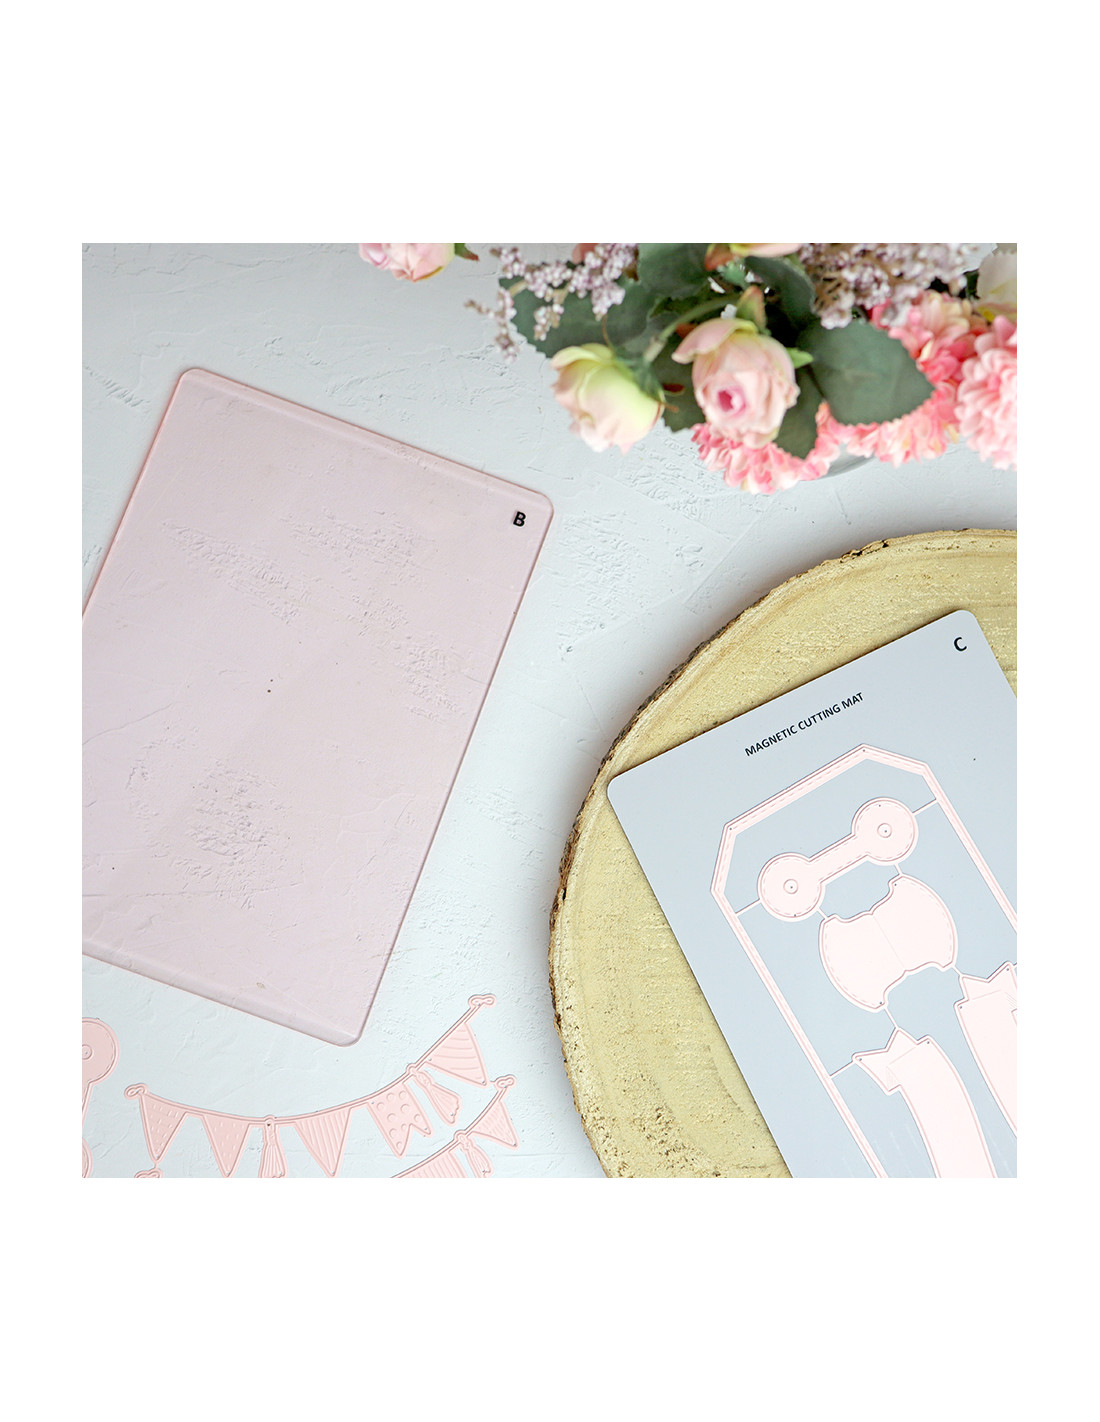
PLACE THE PLATFORM (the thicker piece). Place the MAGNETIC CUTTING BASE (C) on top. Then place the DIE and finally the PRESSURE PLATE (B).
FOR EMBOSSING:
PLACE THE PLATFORM (the thicker piece). Place the EMBOSSING BASE (E) on top. Then place the EMBOSSING FOLDER and finally the PRESSURE PLATE (B).
- - -
Cómo colocar en la CocoMummy las placas para troquelar y embossar
La manera de colocar las placas a la hora de troquelar y embossar suele ser un quebradero de cabeza. Para que no tengas que estar probando una y otra vez, te dejo el orden que deben llevar en la CocoMummy:
PARA CORTAR:
COLOCA LA PLATAFORMA (que es la pieza gordita). Encima la BASE DE CORTE IMANTADA (C). Luego el TROQUEL y por último la PLACA DE PRESIÓN (B).
PARA EMBOSSAR:
COLOCA LA PLATAFORMA (que es la pieza gordita). Encima la BASE DE EMBOSS (E). Luego la CARPETA DE EMBOSS y por último la PLACA DE PRESIÓN (B).


